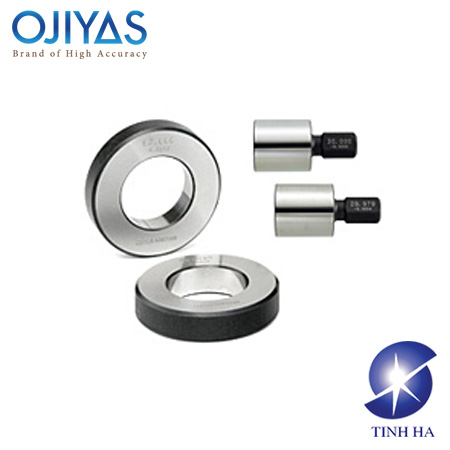
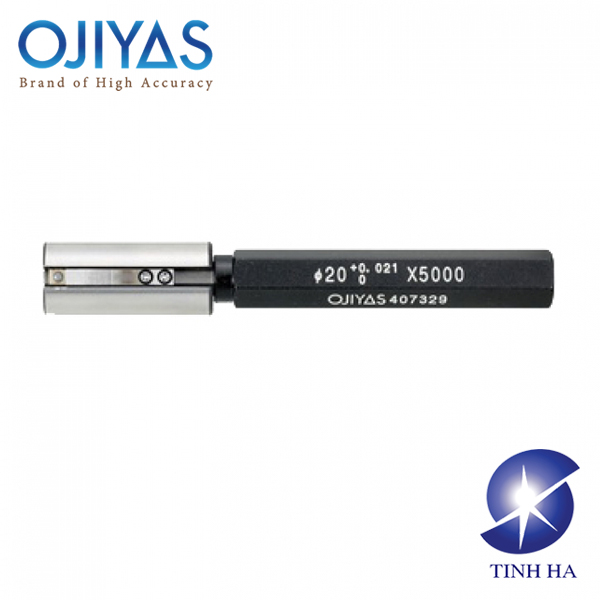
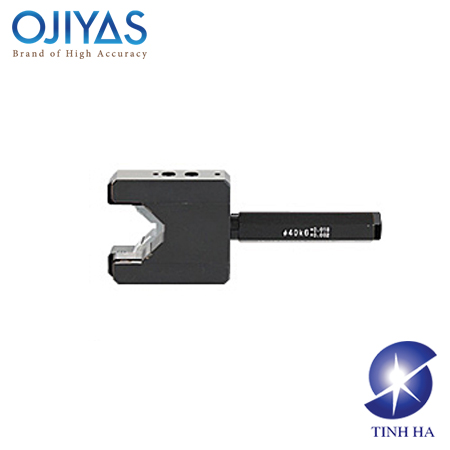
 Gauge heads are used together with an air micrometer, which is a comparator type instrument calibrated using a pair of master rings or plugs.
A pair of masters consists of upper and lower part of limit sizes.
Master Ring Gauge:
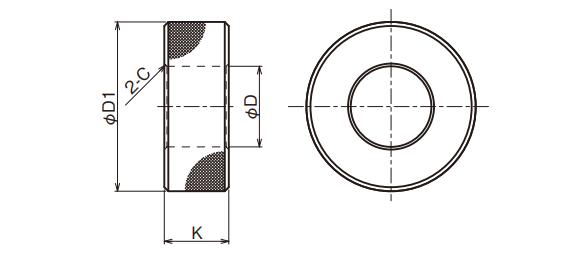
| Nominal Size øD exceeded ~ less | øD1 | K | Chamfering |
| 3~5 | 22 | 8 | 0.3 |
| 5~10 | 32 | 8 | 0.5 |
| 10~15 | 38 | 10 | 0.5 |
| 15~20 | 45 | 12 | 1.0 |
| 20~25 | 53 | 14 | 1.0 |
| 25~32 | 63 | 16 | 1.0 |
| 32~40 | 71 | 18 | 1.0 |
| 40~50 | 85 | 20 | 1.0 |
| 50~60 | 100 | 24 | 1.5 |
| 60~70 | 112 | 24 | 1.5 |
| 70~80 | 125 | 24 | 1.5 |
| 80~90 | 140 | 24 | 1.5 |
| 90~100 | 160 | 24 | 1.5 |
Master Plug Gauge:
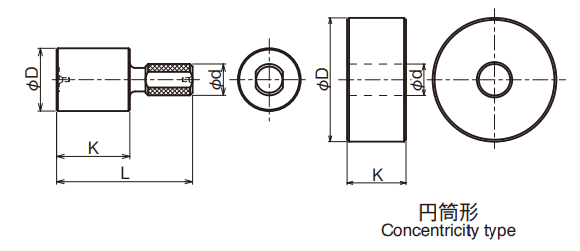
| Nominal Size øD exceeded ~ less | K | L | ød |
| 3~6 | 12 | 26 | 6 |
| 6~10 | 16 | 30 | 7 |
| 10~14 | 20 | 38 | 8 |
| 14~18 | 24 | 44 | 10 |
| 18~24 | 28 | 52 | 12 |
| 24~30 | 32 | 58 | 15 |
| 30~40 | 36 | 68 | 18 |
| 40~50 | 42 | 78 | 22 |
| 50~65 | 30 | – | 16 |
| 65~80 | 30 | – | 16 |
| 80~100 | 36 | – | 20 |

