- Supports bidirectional communication between the ID-F and the computer, enabling data output to a computer and setting of various functions of ID-F from a computer.
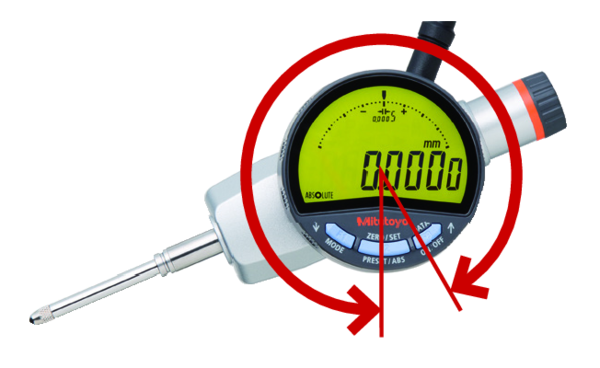
- The face can be rotated 330° to maintain the ease of use and readability of the characters and the bar even when the ID-F is used horizontally or at an angle.
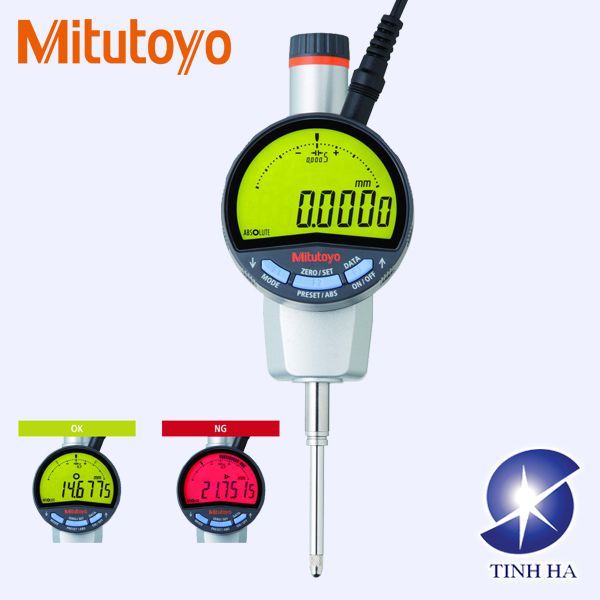
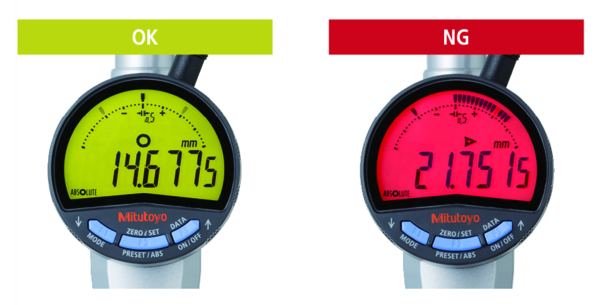
- GO/±NG judgment function: If a judgment result shows an out of tolerance condition, the display backlighting changes from green to red.
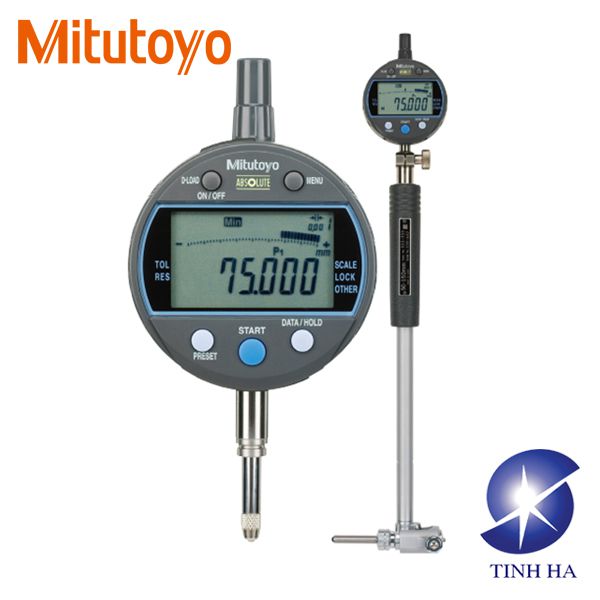
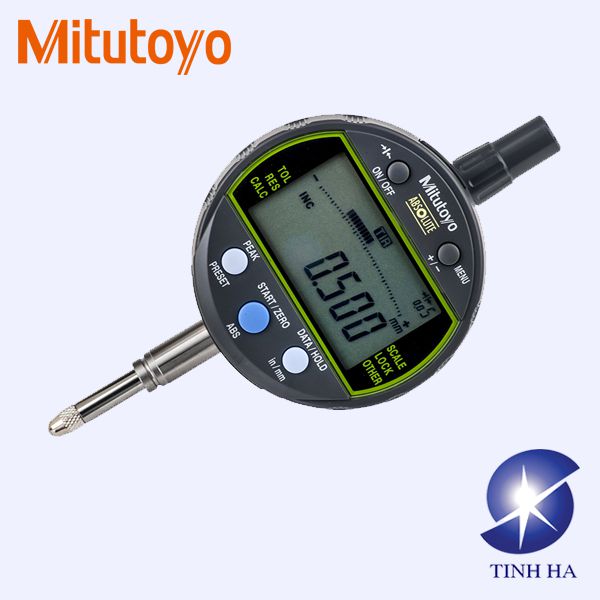
- An analog bar indicator has been integrated to make upper/lower limit and turnover point reading more comfortable.
- The ABS (absolute) scale restores the last origin position automatically when the indicator is turned on, and realizes high reliability by eliminating over-speed errors.
- Easy-to-read large LCD readout with the height of the characters has been increased from 8.5 mm with the previous model to 11 mm (about 1.5 times as much).
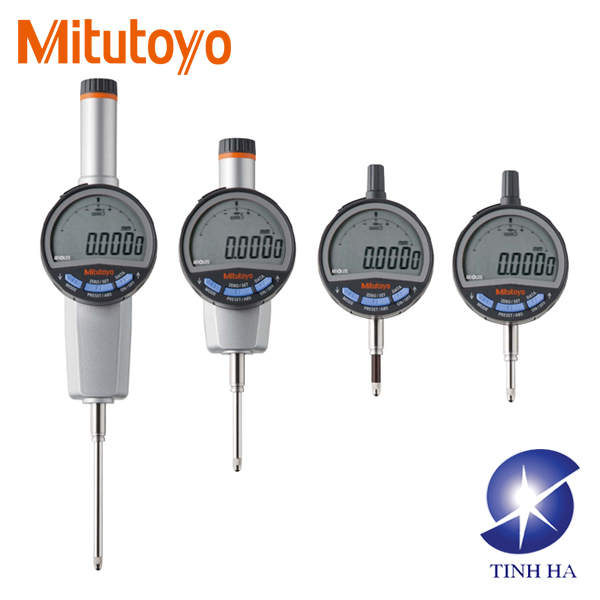
- External power supply type: an AC adapter is a standard accessory. Does not require battery replacement.
- The maximum resolution is 0.5 µm (0.0005 mm). With a indication error corresponding to 0.0025 mm, this indicator can be used in high-precision applications.
- Equipped with a data output port that enables incorporation into measurement networking and statistical process control systems.

SPECIFICATIONS
| Metric (ISO/JIS type) | ||||||||||
| Order No. | Range (mm) | Resolution (mm) | Resolution switching (mm) | Maximum permissible error MPE (mm) | Response speed | Measuring force MPL (N) | Power supply | Net mass (g) | ||
| MPEE* | Hysteresis MPEH | Repeatability MPER | ||||||||
| 543-851 | 25.4 | 0.0005 | 0.0005/ 0.001/ 0.01 | 0.0025 | 0.002 | 0.002 | Unlimited | 1.8 or less | AC adapter (5.9 V) | 240 |
| 543-853 | 50.8 | 0.004 | 2.3 or less | 330 | ||||||
| 543-857 | 50.8 | 0.003 | ||||||||
| Inch/Metric (ASME/ANSI/AGD type) | ||||||||||
| Order No. | Range | Resolution | Resolution switching | Maximum permissible error MPE | Response speed | Measuring force MPL (N) | Power supply | Net mass (g) | ||
| MPEE* | Hysteresis MPEH | Repeatability MPER | ||||||||
| 543-852 | 1 in/ 25.4 mm | 0.00002 in/ 0.0005 mm | 0.00002/ 0.00005/ 0.0001/ 0.0005/ 0.001 in 0.005/ 0.001/ 0.01 mm | ±0.0001 in/ 0.0025 mm | 0.00008 in/ 0.002 mm | 0.00008 in/ 0.002 mm | Unlimited | 1.8 or less | AC adapter (5.9 V) | 240 |
| 543-854 | 2 in/ 50.8 mm | ±0.00016 in/ 0.004 mm | 2.3 or less | 330 | ||||||
| 543-858 | 2 in/ 50.8 mm | ±0.00012 in/ 0.003 mm | ||||||||
* Error of indication for the total measuring range (MPEE)
Note: Measures precisely Max., Min., and TIR (amplitude (Max – Min) values. (Peak detection speed: 500 times/s)

